SunBank Assembly
Assembly Instructions
Follow the steps below to assemble your SunBank.
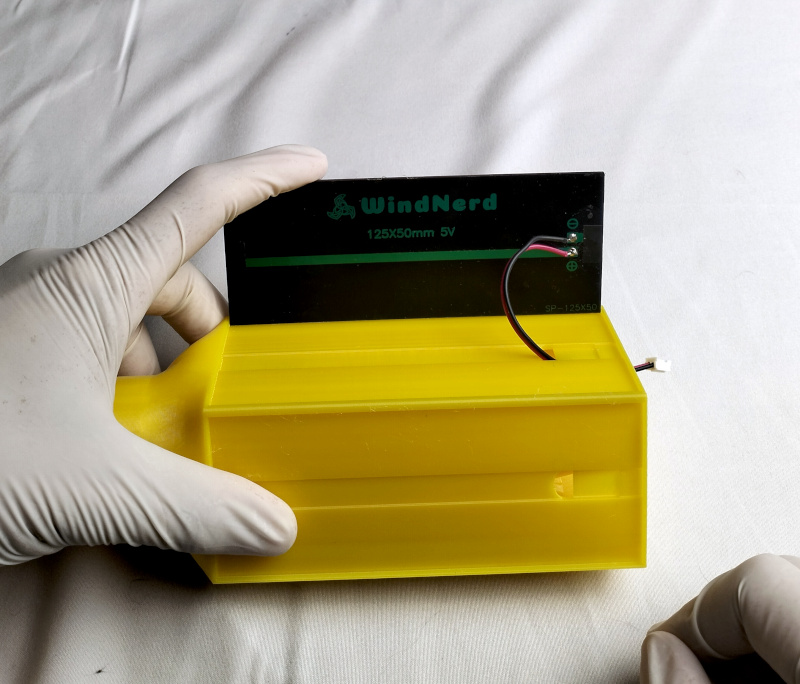
1. Position the First Solar Panel
Arrange the wire so that it forms a loop.
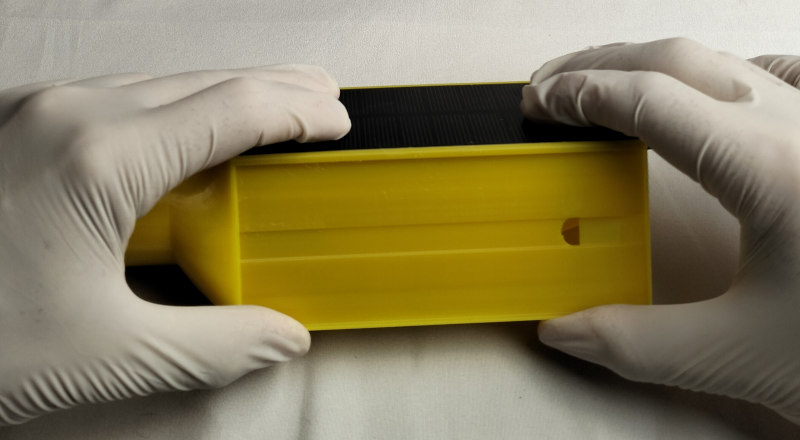
2. Apply Glue to the Corners
Apply glue to each side and corner of the panel pocket.
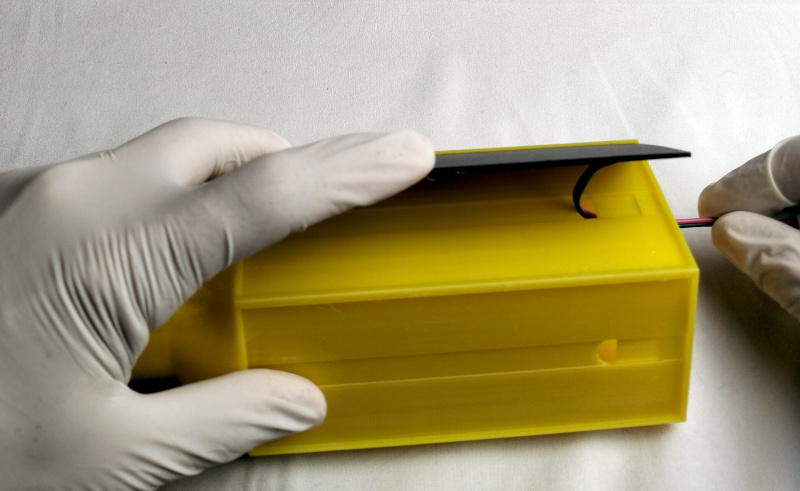
3. Insert the Solar Panel
Place the solar panel into the pocket while gently pulling the wire outward.
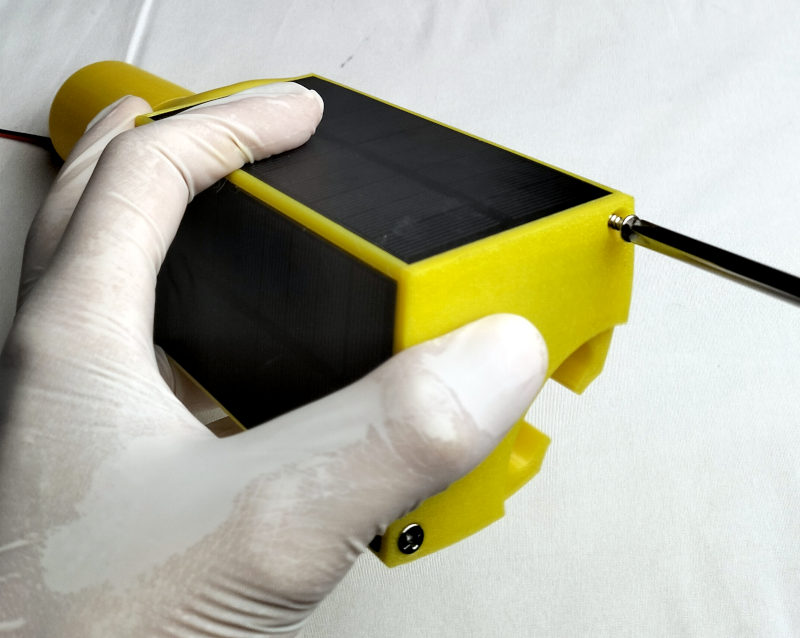
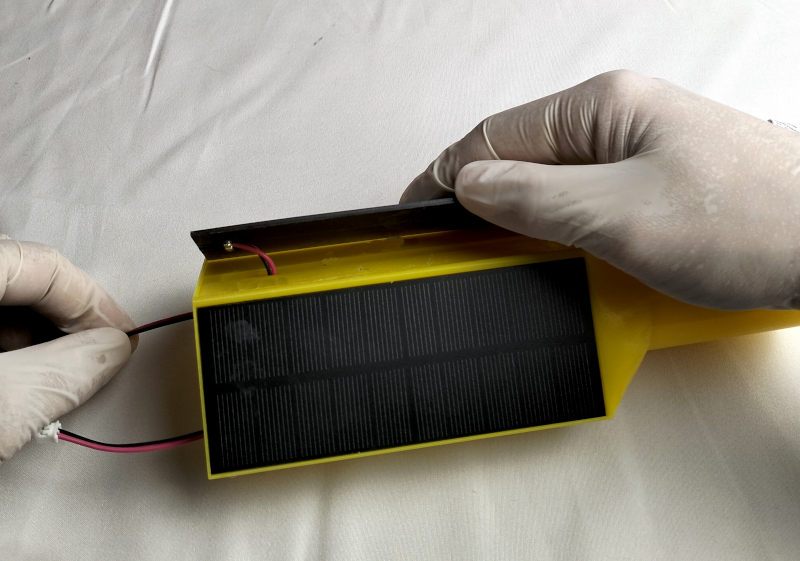
4. Hold Until Cured
Press the solar panel firmly in place and hold until the glue has cured.
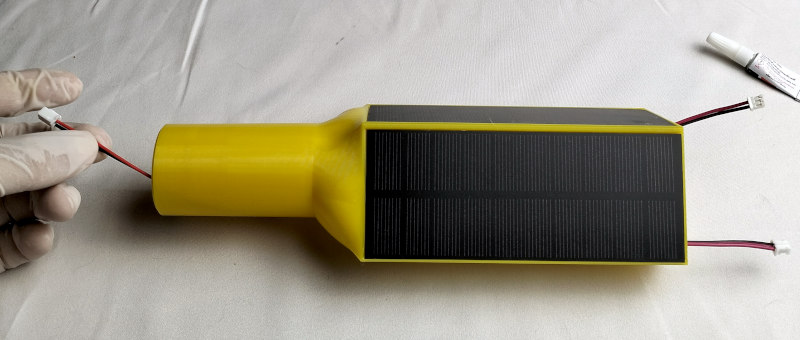
5. Install the Second Solar Panel
Repeat the same procedure to glue the second solar panel.
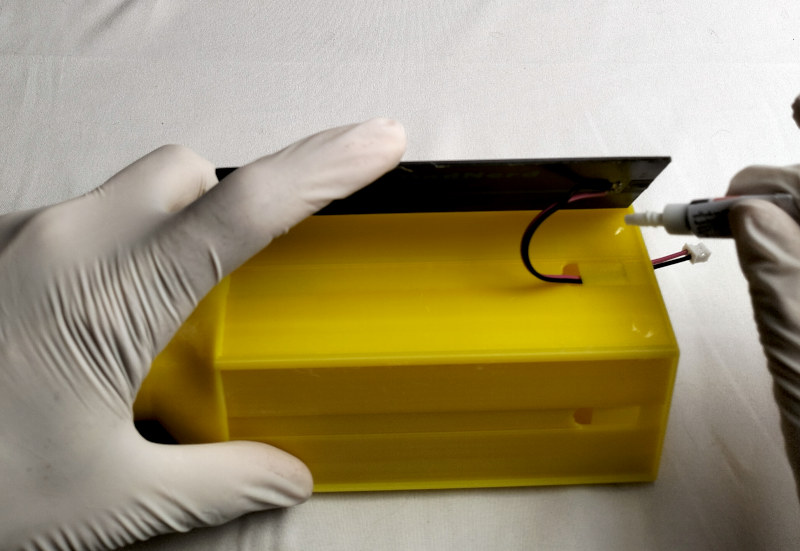
6. Route the XH2.54 Cable
Run the XH2.54 cable from the top of the enclosure to the bottom.
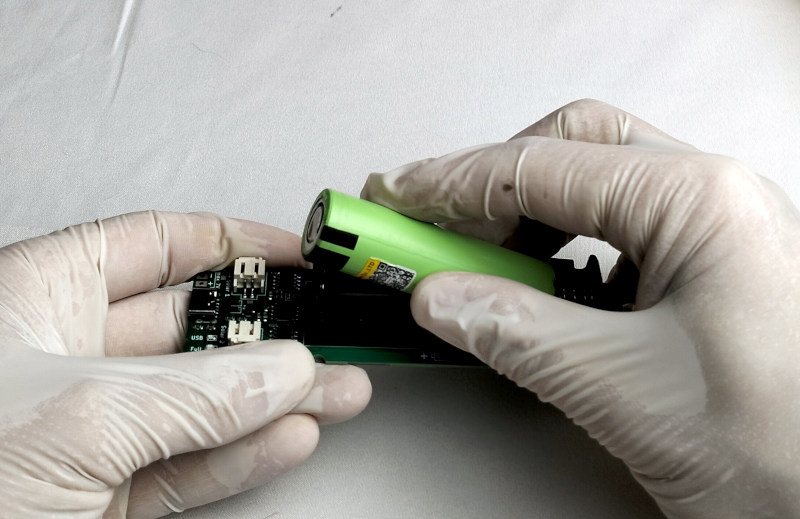
7. Insert the 18650 Battery
Insert a 18650 cell into the battery holder, ensuring correct polarity.
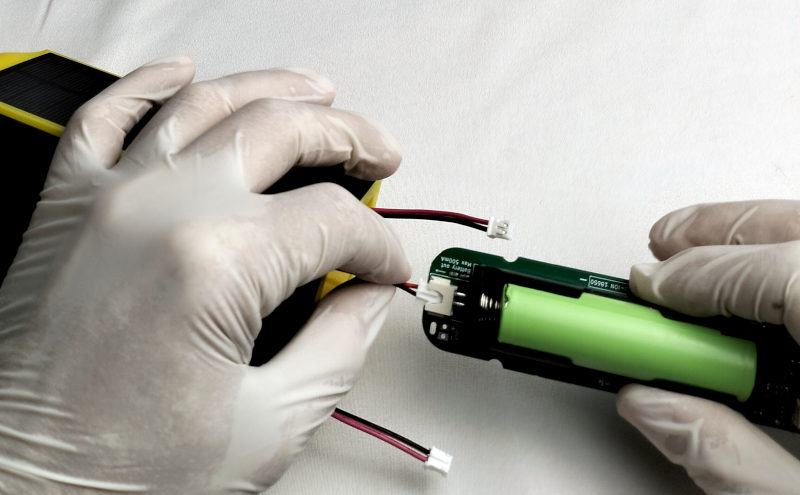
8. Connect the Cable to the PCB
Connect the XH2.54 cable to the electronic board.
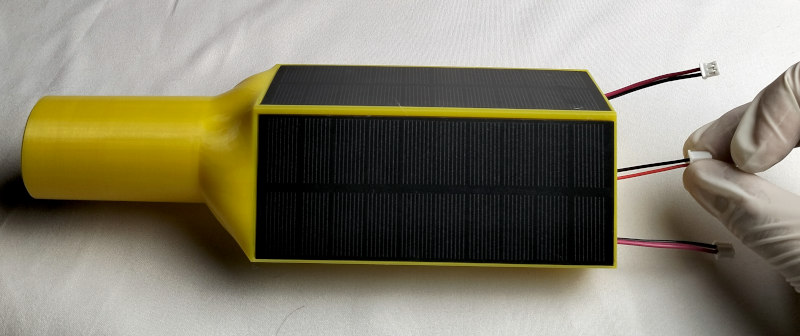
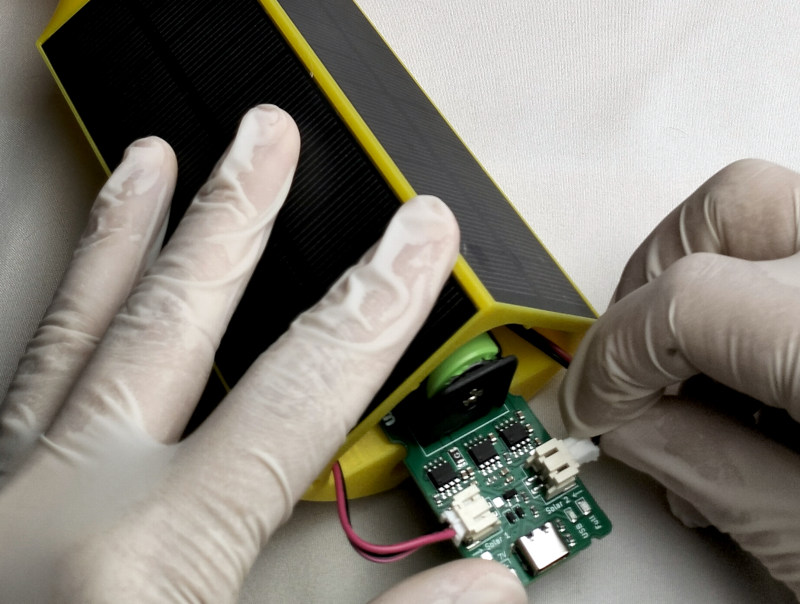
9. Connect the Solar Panels
Connect the two solar panels to the PCB.
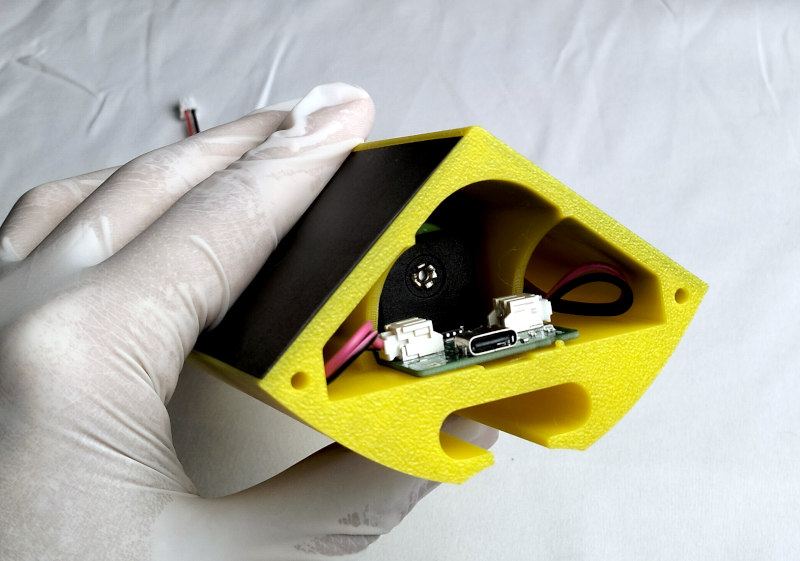
10. Insert the PCB
Carefully push the electronic board fully into the enclosure.
11. Close the Enclosure
Attach the bottom cover using the two small screws.