Assembly
Once all parts are 3D printed, assembly takes place in two stages, each covered by its own step-by-step guide:
-
Anemometer: the anemometer's 3D-printed parts and small essential hardware such as magnets and bearings
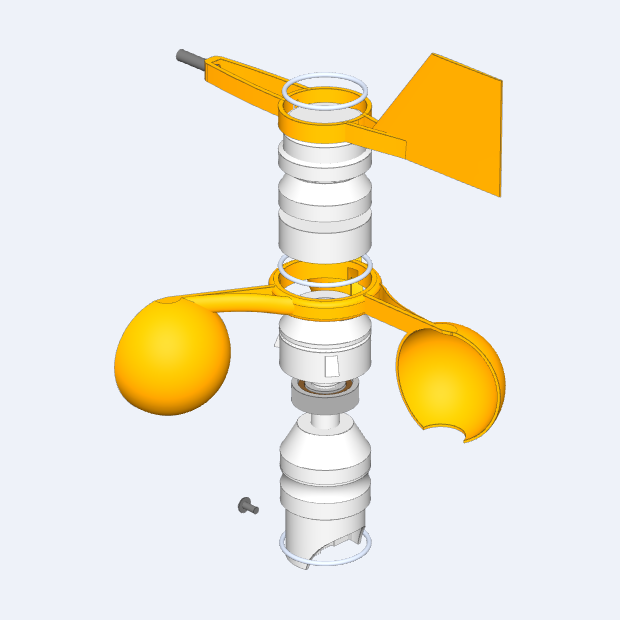
-
Sunbank: the Sunbank's 3D-printed parts, solar panels, 18650 battery and PCB, for solar-powered kits
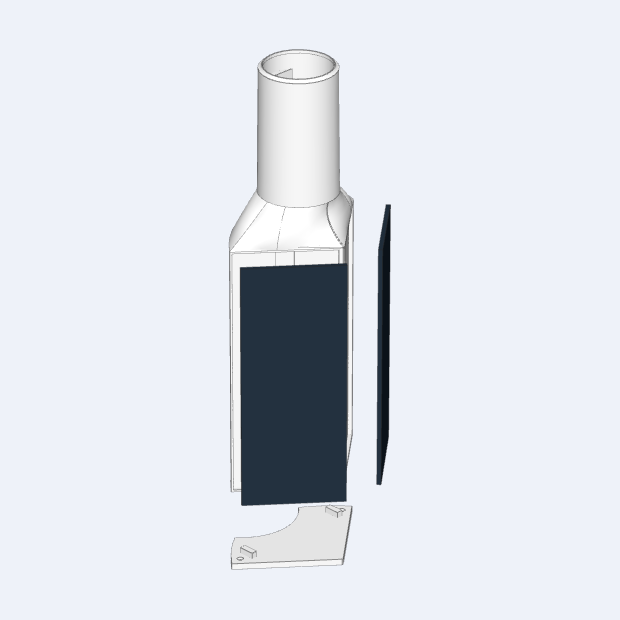
What You'll Need
- A sharp tool such as a scalpel, deburring tool or utility knife: for removing printing defects
- Cyanoacrylate glue (Super Glue): for the anemometer assembly
- RTV silicone (optional, for the Sunbank): an alternative adhesive for the solar panels that provides a good seal while still allowing later removal
- Screwdrivers: small and medium cross-head (Phillips)
Magnets, bearings, seals and screws are referenced in each guide at the step where they are used.
Before You Start
- Inspect all printed parts and remove any imperfection that could prevent the rotating parts from spinning freely. Check that the electronic board fits into its housing without obstruction.
- Whenever glue is used, let it fully cure before moving to the next step.
Once assembled, continue with the installation guides.